There’s nothing quite like pulling a golden, fluffy cake out of the oven that looks (and tastes!) just right. But let’s face it: baking the perfect cake takes more than following a recipe. You need to master a few expert tips!
Since today is National Cake Decorating Day, we at Marty's Appliance thought we would bring tips and tricks to make your desserts look fresh from the bakery!
Prepping Your Ingredients
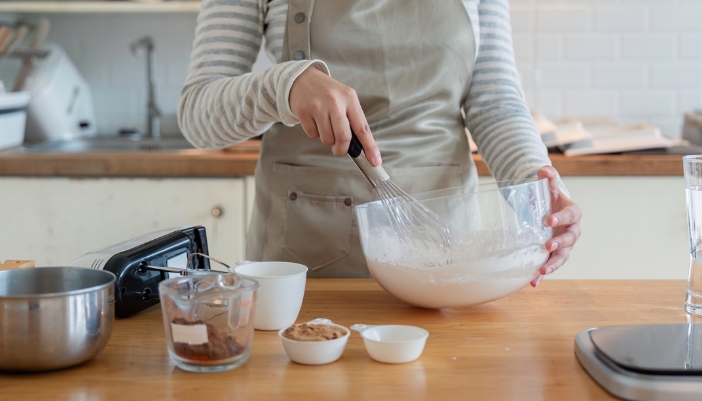
Before you even turn on the oven, how you prepare your ingredients can make or break your cake. It’s all about precision and setting the stage for success!
- Measure Accurately: Baking is a science, and precise measurements matter. Use a kitchen scale for dry ingredients to avoid under- or over-measuring, ensuring a consistent cake texture.
- Room Temperature Ingredients: Butter, eggs, and dairy at room temperature mix more easily and create a smoother batter, helping your cake rise evenly.
- Sift Dry Ingredients: This helps remove lumps and aerates the mixture, leading to a lighter, fluffier cake.
- Cream Butter and Sugar: Doing this thoroughly incorporates air into the batter, giving your cake a tender, moist texture.
Mastering the Baking Process
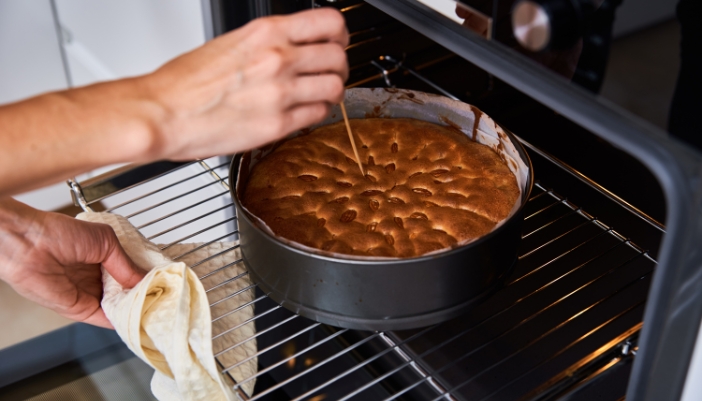
Once your ingredients are ready, the baking process is where the magic happens — or where things can go wrong. That’s why following these essential tips ensures your cake rises perfectly, bakes evenly, and comes out golden and delicious!
- Choose the Right Pan: Metal pans heat quickly, making them ideal for light, fluffy cakes, while glass and ceramic pans distribute heat more slowly, which can lead to denser cakes.
- Preheat the Oven: Preheating ensures your cake bakes evenly from the start. An oven thermometer can help double-check that your oven is at the right temperature, as many ovens can be slightly off.
- Don’t Overmix the Batter: Overmixing can develop too much gluten, leading to a dense or tough cake. Mix until ingredients are just combined for a tender crumb (this will also avoid a sunken center!).
- Check for Doneness: Use the toothpick test to check if your cake is done. Insert a toothpick into the center—if it comes out clean or with a few crumbs, your cake is ready.
- Cool Correctly: Once out of the oven, allow the cake to cool in the pan for 10 minutes before transferring it to a wire rack. This prevents the cake from becoming soggy at the bottom.
Pro Tip:
Always grease and flour your cake pans (or use parchment paper) to avoid the dreaded stuck cake bottom.
Avoiding the Pitfalls
Even with all the right ingredients and techniques, mistakes can still happen. But don’t worry — knowing how to avoid common cake mishaps can save your bake and keep you on track for that perfect cake.
- Sunken Centers: Cakes often sink in the middle due to opening the oven door, so resist the urge to take a peek until the last few minutes of baking.
- Overfilled Pans: Filling your cake pans more than two-thirds full can lead to overflow or undercooked centers.
- Uneven Layers: If your cake layers bake unevenly, it could be due to an incorrect oven rack position or an oven that’s too hot. Always bake on the middle rack for even heat distribution, and double-check your oven temperature using an oven thermometer.
- Fixing Dry or Cracked Cakes: If your cake comes out a bit dry or with cracks, brush on a simple syrup while it’s still warm. This adds moisture and smooths over imperfections, making it ready for frosting.
Pro Tip:
If you notice your cake batter is too thin or thick, it’s often due to incorrect measurements. A quick fix can be adding a tablespoon of flour (for thin batter) or a tablespoon of milk (for thick batter) to get the right consistency before baking.
Frost It
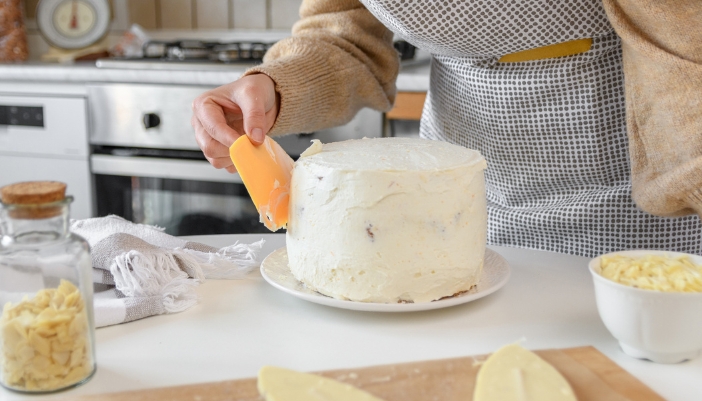
So, now that you have your perfect cake, it’s time for the next part — frosting it! Sure, you can slather on any frosting, but to make your cake look as good as it tastes, it’s best to follow these tips!
- The Crumb Coat: Start with a thin layer of frosting to catch crumbs, making the final coat smoother and easier to apply.
- Chill Before Decorating: Place the cake in the fridge for 15 to 30 minutes after applying the crumb coat to firm it up and prevent smudging.
- Smooth the Sides: For a clean, professional look, use a bench scraper or offset spatula (a spatula with a flat, angled blade) to smooth out frosting along the sides.
- Whipped Cream Frosting: Made by whipping heavy cream with sugar and vanilla, it's perfect for a quick finish, but be mindful that it won’t hold its shape for long and should be used for cakes served immediately.
- Whipped Buttercream: By whipping the butter and sugar longer, you create a light, fluffy frosting that holds up well for piping borders and decorations. Plus, it lasts longer at room temperature compared to whipped cream.
Pro Tip:
If your frosting melts while decorating, pop the cake in the fridge for 10 to 15 minutes to firm it up before continuing. For a hot day, consider using a frosting like Swiss meringue buttercream, which holds up better in warmer temperatures.
Decorate
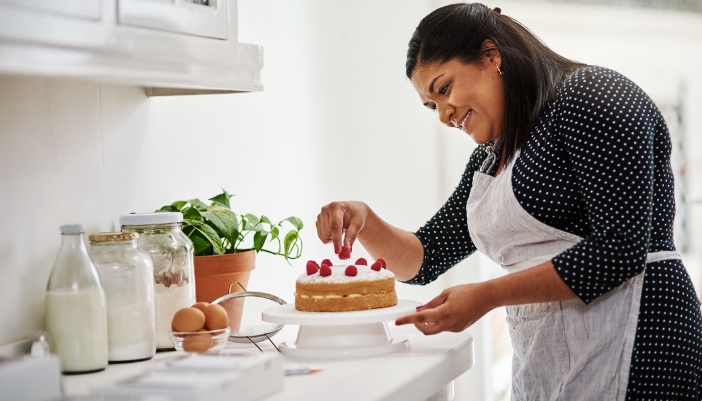
Now that your cake is frosted, it’s time to add some flair! Here are simple but eye-catching decoration ideas to make your cake stand out without too much of a hassle.
- Pre-made Decorations: Use store-bought edible decorations like sugar flowers, fondant toppers, or chocolate shapes. They add a professional look with zero extra work.
- Edible Gold Dust: For an easy but luxurious finish, lightly dust edible gold powder or pearl dust along the edges or over the frosting. It gives the cake a nice shimmer without the delicacy of applying gold leaf.
- Drip Cakes: Achieve a stylish drip effect by pouring slightly cooled ganache or melted chocolate along the edges of your cake, allowing it to cascade down the sides naturally. You can also buy pre-made drips to make things simpler!
- Sprinkles or Crushed Cookies: For a playful touch, press colorful sprinkles, crushed cookies, or even chocolate shavings along the sides or base of the cake right after frosting.
- Fruit and Berries: Arrange fresh berries, kiwi slices, or citrus segments on top for a naturally vibrant, sweet finish. They add texture and color while keeping things simple.
- Use Stencils: Lay a cake stencil over your frosted cake and dust powdered sugar, cocoa, or colored sprinkles on top to create a quick, professional-looking pattern.
- Candy Toppings: Add candies like M&Ms, chocolate bars, or gummy bears for a colorful, effortless decoration that kids love.
Pro Tip:
Heavy decorations like fresh fruit or large toppers can sink into your cake if it’s too soft. Chill the cake before adding heavy decorations or insert toothpicks or dowels for support.
Have Your Cake & Eat it Too!
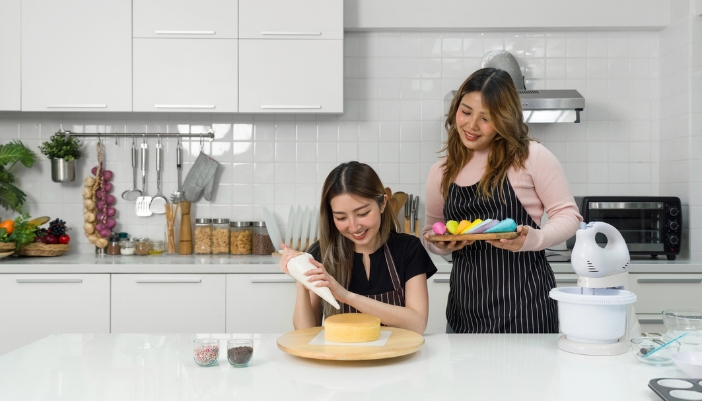
There you have it — the best tips for baking and decorating your cake so you and your family can enjoy it! But if your current oven is always on the fritz and your cakes never come out to golden perfection, don’t wait; find your next wall oven or range at Marty's Appliance! We have all the top brands with the features you need to make your next bake a hit!
Have questions? Call us or stop by to get started on your baking station!